Here is a project I completed today.
It was totally free!!
It's a wall hanging made from pallets.
It's a wall hanging made from pallets.

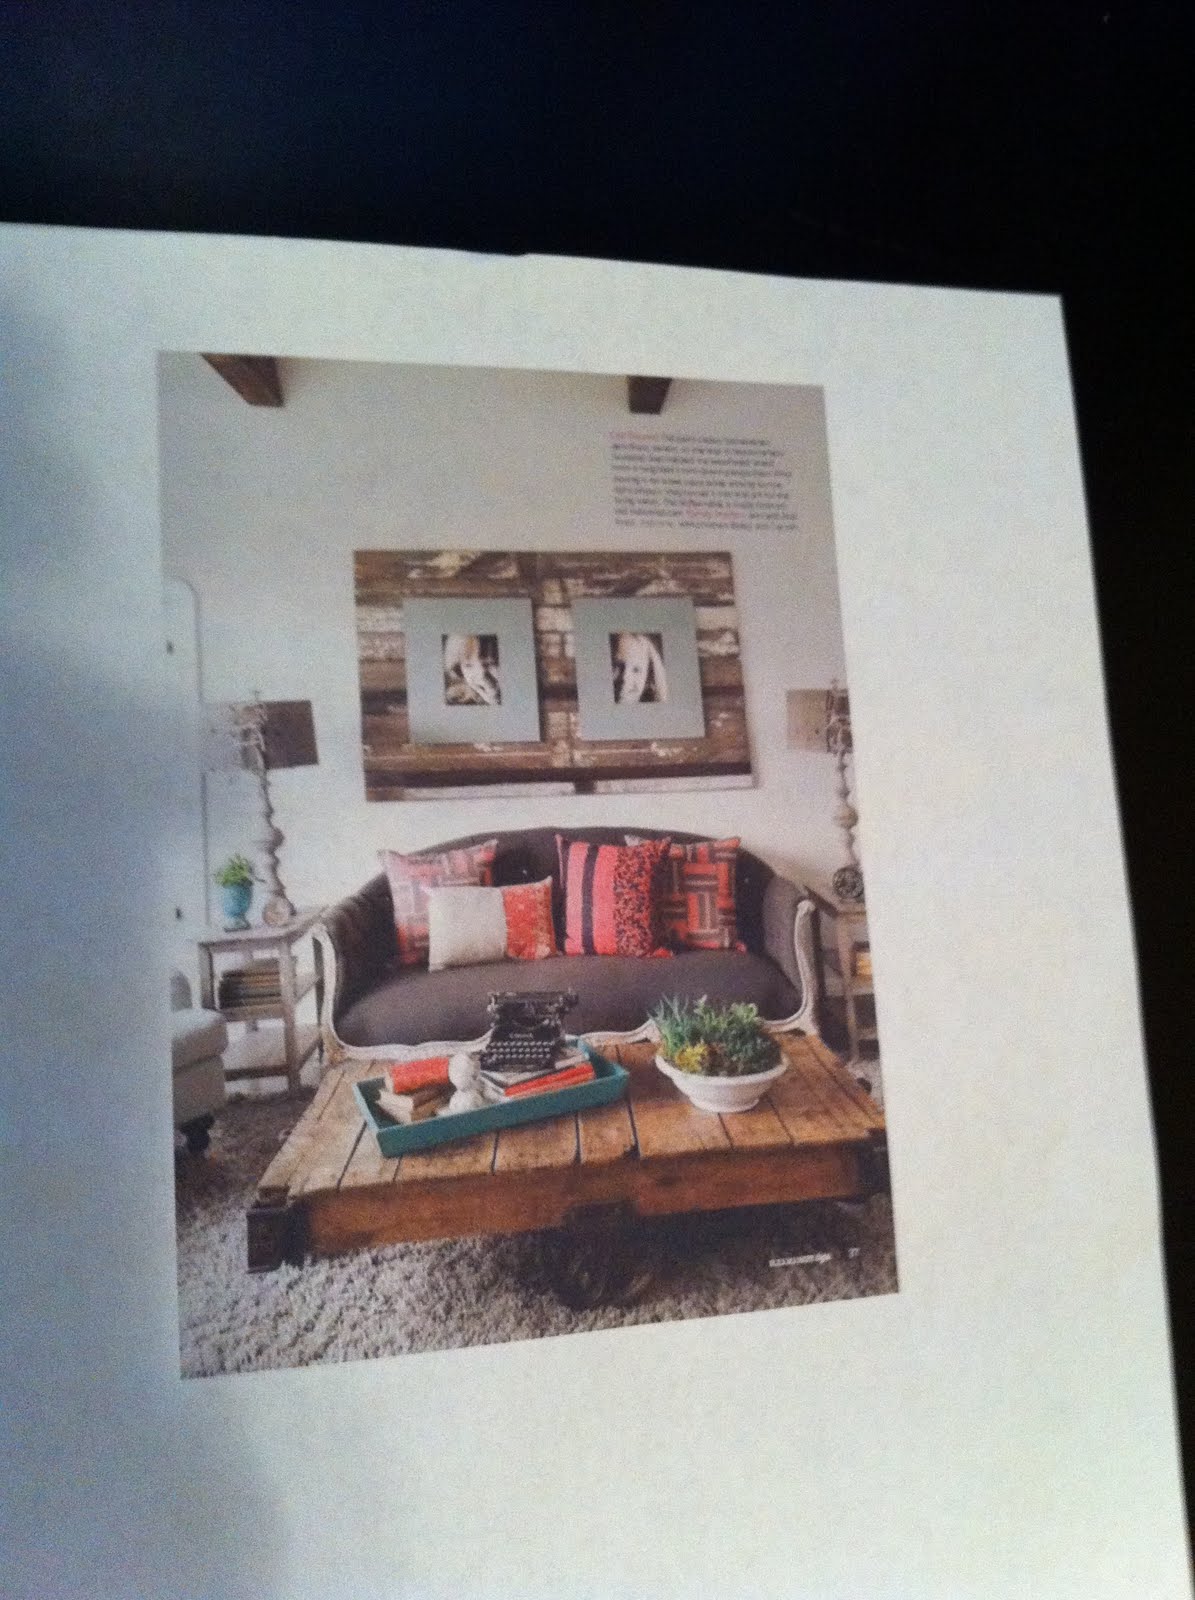
Here is where I got my inspiration.
I don't remember where I found it, but somewhere online. I print or clip things out and have a file of ideas when I see them. :)
I don't remember where I found it, but somewhere online. I print or clip things out and have a file of ideas when I see them. :)
 I found some pallets in a alley and scooped them up one day when I didn't have a carload of kids with me. I asked Dylan if he wanted to help out and he was super excited about it, he loves working with tools. On the 2nd pallet, I told him that I would pay him $2 for each pallet he took apart and removed all the nails. This defiantly motivated him even more!
Step 1: Tear apart the pallet and remove all the nails.
 Step 2: Decide how big you want the wall hanging to be and arrange the wood in a pattern that you like. You'll want to lay the wood with the good side down (side you want to show when hanging on wall, face down).
 Step 3: I didn't take a picture of this but once you have it all laid out in the pattern you like, measure and mark where you need to cut the side edges. I took a long level and laid it down on wood and took a pencil line up all the wood pieces.
Step 4: Again, no picture (wasn't planning to write all this out :)) Cut each side piece off at line you just marked, I used electric saw. Put each piece back where you took it from after each cut.
Step 5: Fasten (screw) wood pieces together with scrap pieces of wood from pallet. (The picture is from my 1st try at doing this...then I realized I needed to cut side pieces off first and then attach all together.) I also had a few random areas where I did little pieces of wood to reinforce the slats.
 Step 6: I brushed some white paint around randomly on some of the wood slats, I like the rustic natural look but you could easily paint the whole thing one color also. Then sand all the edges and rough wood, I also sanded over some of the area I painted to make it look more blended. I used really course sandpaper with electric sander. It only took a few minutes.
 Step 7: I attached 2 heavy duty hanging hooks to back wood pieces.
And also used hooks in wall that were strong enough for the weight...it's pretty heavy.
Here it is without frames attached

I had the frames already hanging on my wall, so I just used what I had but you can easily make a wood frame or just buy what you like. I put little nails in and hung them up.

I love it!!
I love that it is natural and not perfect.
I guess in the end, it cost me $6.50. $2.50 for the hooks for hanging and $4.00 to pay Dylan for helping me!
I hope someone else makes one...or is just inspired. :)
Pin It